How to Spell Check a Website
A quick guide to spell checking a website.
Step 1: Download an Install InSite
Click here to download InSite. When the download has completed, run the installer file and follow the instructions to install InSite on your computer.
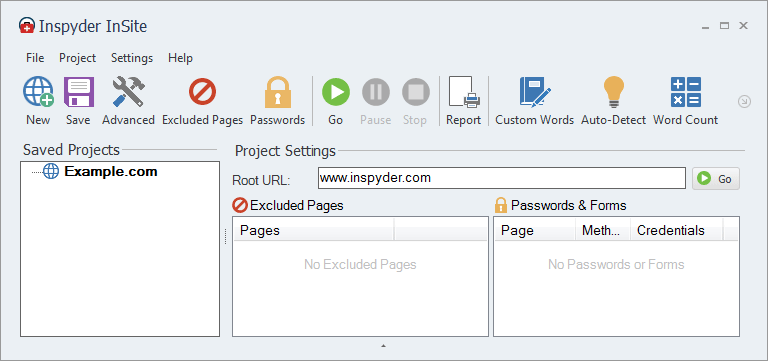
Step 2: Crawling your Website
Run InSite and enter your root URL and click ‘Go‘. For this example, we’ll use ‘www.inspyder.com‘.
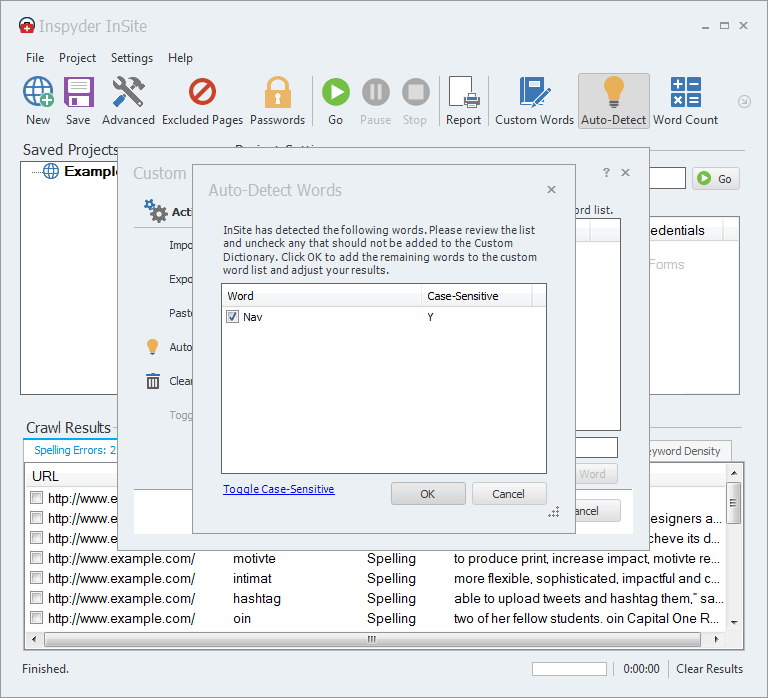
Step 3: Custom Dictionary
As you can see in the results, a few words that we want on our site have been flagged as misspellings. To remove those ‘false-positives’ from the results, we’ll use InSite’s auto-detect feature. Click “Custom Words” from the main tool bar, then click the “Auto-Detect” action. Uncheck any words from the list that are misspellings.
Step 4: Fix Spelling Mistakes
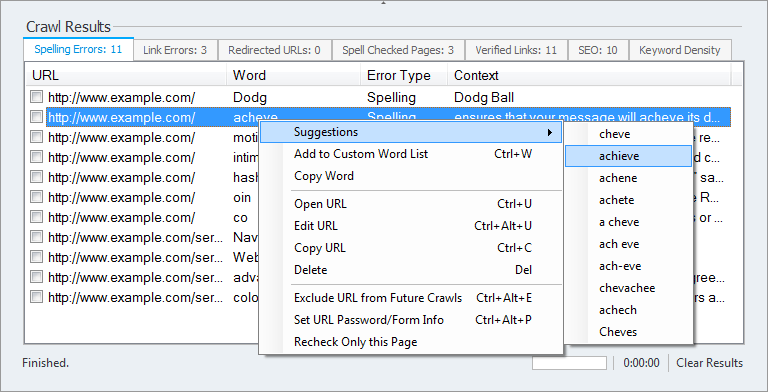
InSite can’t fix your spelling mistakes automatically, but it can make the job go a lot faster. Right-click a spelling mistake to open the shortcut menu.
- Select ‘Open Page in Editor‘ to have InSite automatically open the page in your HTML editor.
- Select ‘Copy Word to Clipboard‘ to have InSite copy the spelling error to the clipboard. This allows you to use the ‘Find’ feature in your HTML editor to quickly locate the error.
- Once all the errors are fixed, upload it to your server and select ‘Recheck Only this Page‘ to confirm your edits.